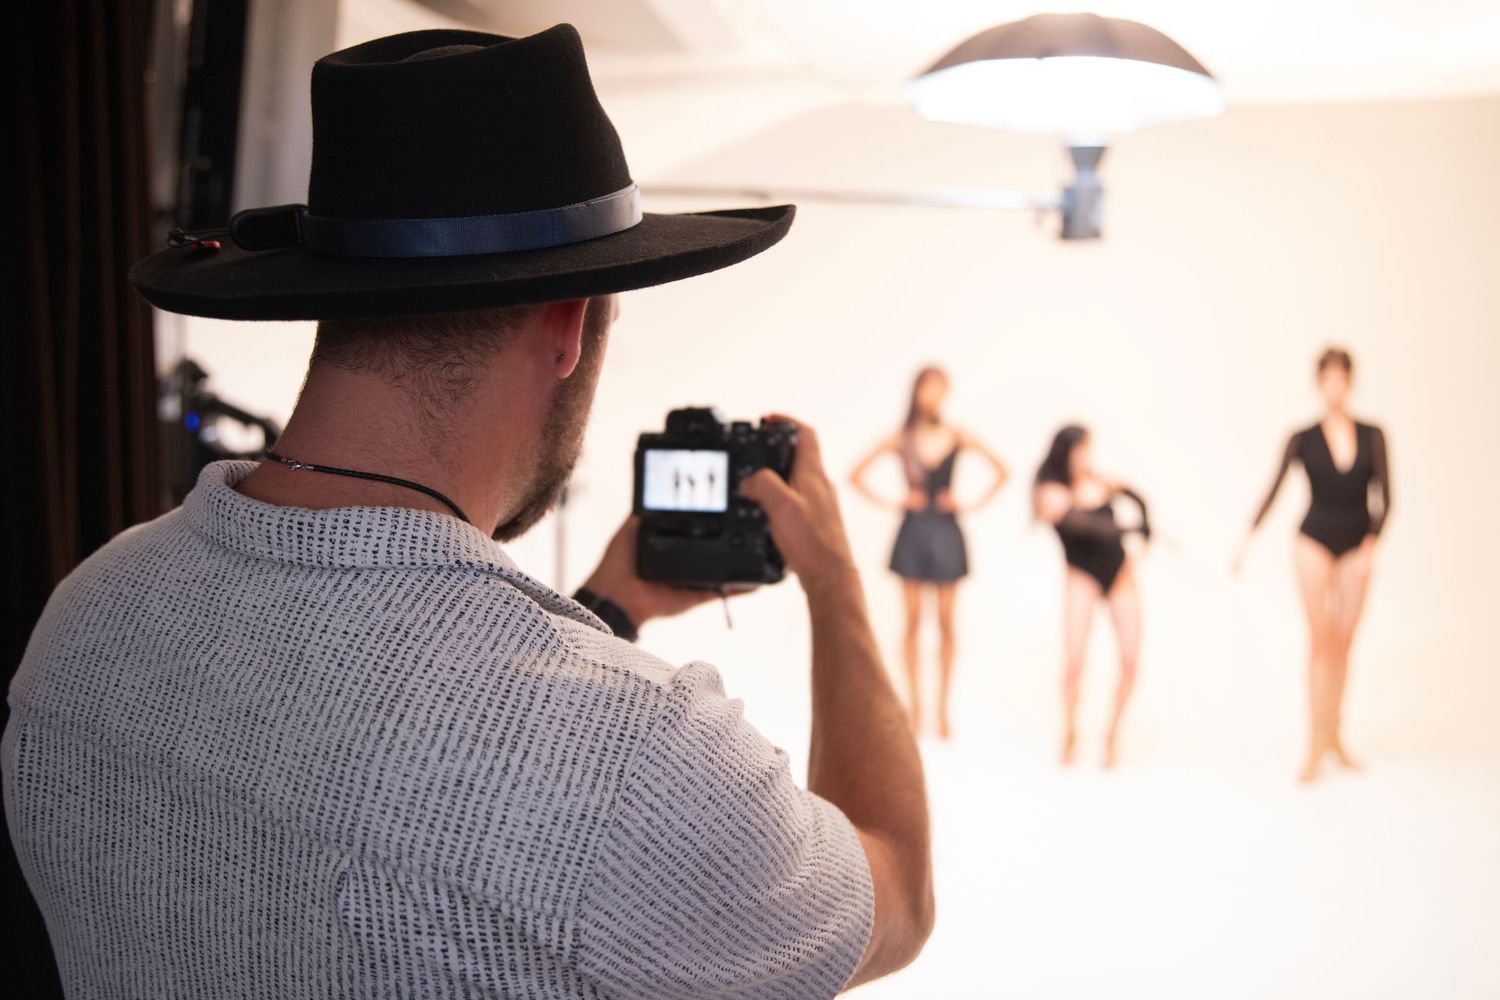
Bay One was our bi-color portrait lighting setup at the Sony Alpha Collab in Seattle. It was where every photographer started, the quietest of our three sets, and for a lot of people the one that surprised them most.
It was also the bay where people kept walking up to me with a camera in hand and asking, “Will you take my portrait?” After an afternoon spent photographing everyone else, they wanted one of themselves. That was the moment I knew the room had shifted.
Here’s how the set was built, and why.

Where the Idea Came From
This bay was heavily inspired by Jonny Edwards and his Glazer’s Anniversary Sale class, A Compelling Portrait: Exploration of Light and Lens. The idea that stuck with me was simple: a portrait doesn’t have to stay inside the backdrop.
We had an espresso backdrop, but we also had bookshelves, a leather chair, a stump side table, a vintage press camera and a floor lamp. All of it was fair game. The goal wasn’t flat, even light. It was shape, highlight, shadow and dimension, with the room helping tell the story.
The Bi-Color Lighting Setup
- Key light: Aputure 600W bi-color with a Fresnel attachment, set to 5600K. The Fresnel gave a crisp, directional key and threw a branch pattern across the backdrop for texture.
- Fill: Aputure 300W bi-color in a 5 foot softbox with no grid, boomed overhead at 5600K. Big and soft, it lifts the shadows without flattening them.
- Hair light: Nanlite 60 at camera right with a standard Bowens mount reflector, set to 4200K. The warmer temperature matched the lamp behind the subject, so the separation felt like it came from the room.
- Practical: the floor lamp in the scene, a real light source the camera can see.
- Backdrop: Westcott fabric in espresso.


Camera Settings
- Aperture: f/2.8 to f/4, depending on each photographer’s lens
- Shutter: around 1/250, since subjects were seated and still
- ISO: set to taste. I worked around ISO 320.
- White balance: 5600K, RAW
I worked on the Sony a7R VI, tethered to Evoto, so everyone could watch frames come up on screen in real time. Seeing a light adjustment land instantly made more sense to people than anything I could explain.


Three Frames to Chase
I gave every group the same challenge:
- One clean portrait. The safe frame. Get it, then let it go.
- One off-angle portrait. Turn the person. Have them lean. Change your height.
- One frame that feels nothing like how you normally photograph someone. Go low, go high, crop strangely, frame through the shelves. Give it a little Willem Dafoe energy.
That third frame is where people found something. And when the subject moved, someone moved a light with them. That’s what the assistants were for.
Why Every Bay Used the Same Camera Settings
The settings above didn’t change from bay to bay, and that was on purpose. With 65 people moving between three sets, I didn’t want anyone stuck dialing in exposure every time they walked into new light. Each bay was lit to work with one set of settings, so photographers could walk in, frame, and focus on the person in front of them. It took the technical worry off the table and left room for connection.
Why We Used Continuous Light Instead of Strobes
With a group this size, strobes would have been chaos. Dozens of photographers on different triggers and frequencies would have been firing each other’s lights all afternoon. Continuous light solved that. What you see is what you get, nobody needs a trigger, and anyone can walk up and start working. For a hands on workshop, it’s the most efficient setup there is.
Try It Yourself
Bring the room into the frame.
A bookshelf or a lamp says more about a person than any backdrop.

Thank You
All of the lighting in this bay came from our friends at Glazer’s Camera Rentals, and Sony put Alpha bodies and lenses in everyone’s hands for the day. If you missed the full recap, read the story of the day here.
Next Sunday: Bay Two, where Lindsay Adler’s approach to color theory meets four RGB tubes.
Want to learn this in person? Join our newsletter for first access to open studio days at our Pioneer Square studio, starting January 2027, and follow us on Eventbrite for upcoming workshops.
Frequently Asked Questions
What is a bi-color light?
A bi-color light lets you adjust its color temperature, usually from warm tungsten around 3200K to cool daylight around 5600K. It makes it easy to match the light already in a room or to mix warm and cool on purpose.
Why put the hair light at a warmer temperature?
We set the hair light to 4200K to match the floor lamp in the scene. It made the separation light feel natural, like it came from the room rather than a studio light.
Can I recreate this with fewer lights?
Yes. Start with one large soft key and one warm accent behind the subject. Add the room around them and you’ll have most of the look.
Why not use strobes for a group workshop?
For a large group, continuous light avoids trigger conflicts and lets everyone see the light before they press the shutter.